When Samsung introduced Android 9 Pie alongside its redesigned One UI interface, Galaxy S9 and Galaxy S9+ users were among the first to receive the upgrade. One UI marked a major shift from the older Samsung Experience interface, focusing on cleaner visuals, simplified layouts, and improved one-handed usability—especially important for large-screen devices.
While Samsung rolled out the update gradually through official over-the-air (OTA) channels, some users preferred installing the firmware manually. Whether you want early access to a beta build or need to flash the update because OTA isn’t available in your region, this detailed guide explains how to manually install Android 9 Pie with One UI on the Galaxy S9 and Galaxy S9+.
Important Notice Before You Begin
This guide applies strictly to:
• Samsung Galaxy S9 (SM-G960F)
• Samsung Galaxy S9+ (SM-G965F)
Attempting to install the update on other variants may cause installation failure or, in rare cases, device malfunction. Always verify your model number under:
Settings > About Phone > Model Number
Before proceeding:
• Ensure your device is running the required Android Oreo firmware (Build ID ending in BRJ6 if applicable).
• Charge your phone above 60%.
• Back up all important data.
• Understand that you proceed at your own risk.
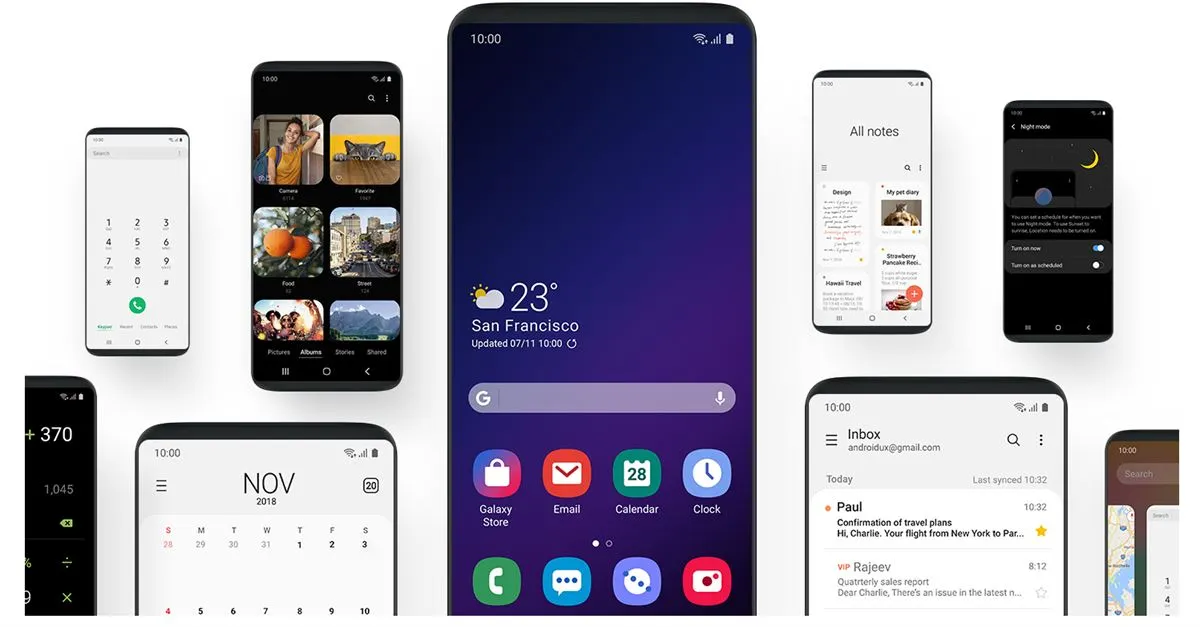
What’s New in Android 9 Pie with One UI?
Samsung’s One UI introduced significant visual and functional improvements:
• Redesigned interface optimized for large screens
• Enhanced dark mode elements
• Streamlined settings layout
• Improved notification management
• Better battery and performance optimization
• Refined gesture navigation
The interface focuses on placing interactive elements in the lower half of the display, making one-handed operation easier.
Two Methods to Install Android 9 Pie on Galaxy S9 / S9+
You can manually update your Galaxy S9 or S9+ using:
- ADB Sideload (via computer)
- MicroSD Card (simpler method)
For beginners, the SD card method is generally easier. Advanced users comfortable with command-line tools may prefer the ADB method.
Method 1: Install Android Pie Using ADB Sideload
Prerequisites
• Latest compatible Oreo firmware installed
• Update ZIP file downloaded
• Minimal ADB and Fastboot tools installed on your PC
• Samsung USB drivers installed
• USB Debugging enabled on your phone
Step 1: Enable USB Debugging
- Go to Settings > About Phone.
- Tap Build Number seven times to enable Developer Options.
- Go back to Settings > Developer Options.
- Enable USB Debugging.
Step 2: Connect Phone to PC
- Connect your Galaxy S9/S9+ via USB cable.
- Allow USB Debugging authorization when prompted.
Step 3: Boot into Recovery Mode
- Open Minimal ADB and Fastboot on your PC.
- Type:
adb devices
Confirm your device is detected.
- Then type:
adb reboot recovery
Your device will reboot into recovery mode.
Step 4: Select ADB Sideload Mode
Use volume keys to navigate to:
Apply update from ADB
Press the Power button to confirm.
Step 5: Sideload the Update
In your ADB window, enter:
adb sideload updatefile.zip
(Replace “updatefile.zip” with the actual file name.)
Wait patiently while the update installs. The device will reboot automatically once the installation completes.
Method 2: Install Android Pie Using a MicroSD Card
This method does not require a PC and is recommended for most users.
Prerequisites
• Correct update file downloaded
• MicroSD card inserted into device
• Compatible firmware version installed
Step 1: Transfer Update File
Copy the update ZIP file to your microSD card. Place it in the root directory for easy access.
Step 2: Boot into Recovery Mode
- Power off your phone completely.
- Press and hold:
Volume Up + Bixby + Power
- Release buttons when the Samsung logo appears.
Step 3: Install Update from SD Card
- Use volume buttons to navigate to:
Install update from SD card
- Press Power to select.
- Locate the update file.
- Confirm installation by selecting Yes.
The system will begin installing Android 9 Pie with One UI. Once completed, your device will reboot automatically.
Troubleshooting Tips
If installation fails:
• Confirm your firmware version matches requirements.
• Ensure the update file is not corrupted.
• Re-download the package if necessary.
• Check model number compatibility again.
If the device gets stuck in recovery:
• Wipe cache partition (not factory reset).
• Reboot system.
If issues persist, flashing official firmware via Odin may be required.
Should You Manually Update?
Manual updates are useful when:
• OTA rollout hasn’t reached your region
• You want early beta access
• OTA update fails repeatedly
However, users unfamiliar with firmware flashing should wait for official OTA updates to avoid complications.
Backup Reminder
Manual firmware installation can occasionally cause data loss. Before proceeding, back up:
• Photos and videos
• Contacts
• Messages
• Important app data
Use Samsung Cloud, Google Drive, or a local backup solution.
Key Differences Between OTA and Manual Installation
OTA Update
• Automatic
• Safer for beginners
• Region dependent
Manual Installation
• Immediate access
• Requires technical steps
• Higher risk if instructions not followed
Understanding the process fully before starting is essential to avoid mistakes.
Important Responsibility Disclaimer
Although these procedures are widely used and typically safe for compatible devices, flashing firmware manually carries risk. Users must follow each instruction carefully. Any damage, data loss, or malfunction resulting from incorrect installation is the user’s responsibility.
Android 9 Pie with One UI significantly improved the Galaxy S9 experience by introducing a cleaner design and smarter layout. For users eager to upgrade ahead of official rollout, these manual methods provide a viable path—as long as the steps are followed precisely.


