Modern web browsers have evolved far beyond simple page viewers. With the introduction of web push notification technology, websites can now send real-time alerts directly to your device—even when the site itself is not open in a browser tab. Google Chrome was among the first browsers to support this feature, allowing users to receive updates from websites just like they would from mobile apps.
Facebook quickly adopted web push notifications, giving users the option to receive instant alerts on both desktop and Android devices through Chrome. This means you can stay updated on comments, messages, likes, and friend requests without constantly keeping Facebook open.
If you want to enable Facebook notifications in Chrome—or turn them off—this detailed guide walks you through the process for both Android and desktop users.
What Are Facebook Push Notifications in Chrome?
Web push notifications are browser-based alerts that appear on your screen even when you are not actively browsing the website. Once you grant permission, Facebook can send notifications directly through Chrome.
These alerts may include:
- New friend requests
- Comments on your posts
- Messages
- Group activity
- Facebook Live updates
- Page notifications
When you click a notification, Chrome opens the relevant Facebook page in a new tab.
Unlike app notifications, these alerts work entirely through the browser and do not require additional extensions or third-party tools.
Why Enable Facebook Notifications on Chrome?
There are several reasons users prefer browser notifications:
- You do not need to keep Facebook open.
- You receive updates in real time.
- Desktop alerts appear immediately on your screen.
- You can control which notifications are important.
For users who spend most of their time working on a computer, browser notifications can replace constant manual checking of Facebook.
How to Enable Facebook Notifications in Chrome (Desktop)
Enabling Facebook push notifications on a desktop computer is simple.
Step 1: Visit Facebook in Chrome
Open Google Chrome and go to:
Make sure you are logged into your account.
Step 2: Allow Notifications When Prompted
When Facebook asks for permission to show notifications, you will see a browser popup near the address bar.
Click Allow.
Once enabled, Chrome will start displaying Facebook alerts as desktop notifications.
Step 3: Adjust Notification Preferences Inside Facebook
To control which alerts you receive:
- Click your profile picture in the top-right corner.
- Select Settings & Privacy.
- Click Settings.
- Choose Notifications from the left panel.
Here, you can customize notification categories such as:
- Comments
- Tags
- Groups
- Birthdays
- Live videos
This allows you to fine-tune which alerts appear in Chrome.
How to Disable Facebook Notifications in Chrome (Desktop)
If the alerts become overwhelming, you can turn them off at the browser level.
Method 1: Disable via Chrome Settings
- Open Google Chrome.
- Click the three-dot menu in the top-right corner.
- Select Settings.
- Click Privacy and Security.
- Choose Site Settings.
- Click Notifications.
You will see two sections:
- Allowed
- Not allowed
Under Allowed, find Facebook.
Click the dropdown next to Facebook and select Block or Remove.
This immediately stops all push notifications from Facebook.
How to Enable Facebook Notifications in Chrome on Android
If you use Chrome on an Android device instead of the Facebook app, you can also enable push notifications there.
Step 1: Open Facebook in Chrome
Launch Chrome on your Android device and visit:
Step 2: Accept Notification Permission
When prompted, tap Allow to enable notifications.
Chrome will now deliver Facebook alerts directly to your Android notification panel.
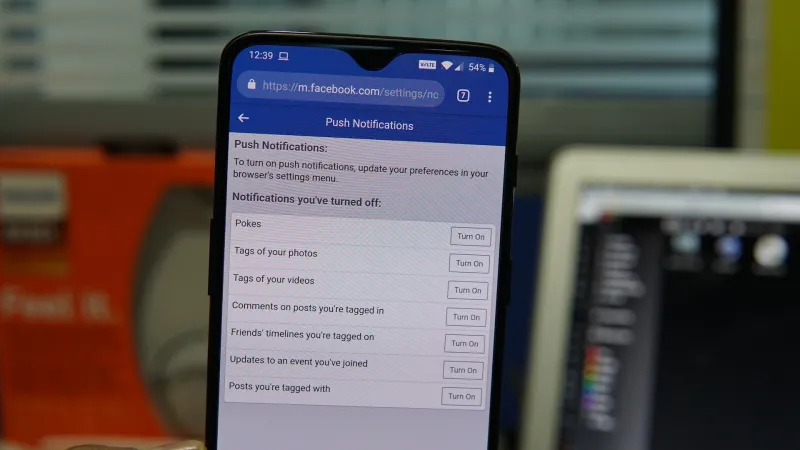
Step 3: Manage Notification Categories
Just like on desktop, you can manage notification types within Facebook’s Settings > Notifications section.
You can disable unnecessary alerts while keeping important ones active.
How to Disable Facebook Notifications in Chrome on Android
If you want to stop push notifications on Android:
Step 1: Open Chrome Settings
- Open Chrome.
- Tap the three-dot menu in the top-right corner.
- Select Settings.
Step 2: Navigate to Site Settings
- Tap Site Settings.
- Select Notifications.
Step 3: Block Facebook Notifications
Under the Allowed section:
- Tap Facebook.
- Tap Notifications.
- Select Block.
Facebook will no longer send push notifications through Chrome on your Android device.
Managing Notifications Without Uninstalling Facebook
One of the benefits of web push notifications is flexibility. You can:
- Enable them on desktop only.
- Enable them on Android only.
- Disable them completely.
- Customize specific categories.
This makes Chrome notifications a useful alternative to installing the Facebook app, especially if you want to reduce app clutter on your phone.
Things to Keep in Mind
- Notifications work only if Chrome is allowed to run in the background.
- Clicking a notification opens Facebook in a new tab.
- You can re-enable notifications at any time from Chrome’s settings.
- Blocking notifications at the browser level overrides Facebook’s internal notification settings.
Web push notifications are designed to make websites function more like native applications. Facebook’s implementation ensures you receive timely updates without constantly checking your feed.


